The Seated Dumbbell Overhead Press: A Professional Setup Guide
The seated dumbbell overhead press setup appears straightforward—grab weights, sit, hoist, and begin pressing. Yet it’s a persistent point of failure for lifters: a weak setup leads to unstable dumbbells, unnecessary shoulder stress, and wasted energy better directed toward building shoulder hypertrophy.
Unlike barbells, dumbbells demand greater neuromuscular control and effort. They expose bilateral strength imbalances, force stabilizer muscles to work maximally, and penalize poor mechanics. This is why a rigorous pre-lift checklist separates effective, safe presses from flawed, inefficient reps.
Below, I’ll walk you through safely positioning dumbbells overhead without a spotter, anchoring your body to the bench, and bracing for maximal stability. Master this setup, and you’ll unlock consistent gains while minimizing injury risk.
The Dumbbell Shoulder Press Setup Checklist
Progress without injury is the ultimate goal. Here’s how to achieve both:
1. The Pick-Up and Lap Position
The press begins at the rack—not when the weights are overhead. Careless handling (e.g., yanking dumbbells with a rounded back) invites acute injury or chronic overuse. Treat the pick-up as the first phase of the lift:
Controlled grab: Hinge at the hips, maintain a neutral spine, and lift dumbbells off the rack using the same form as a deadlift.
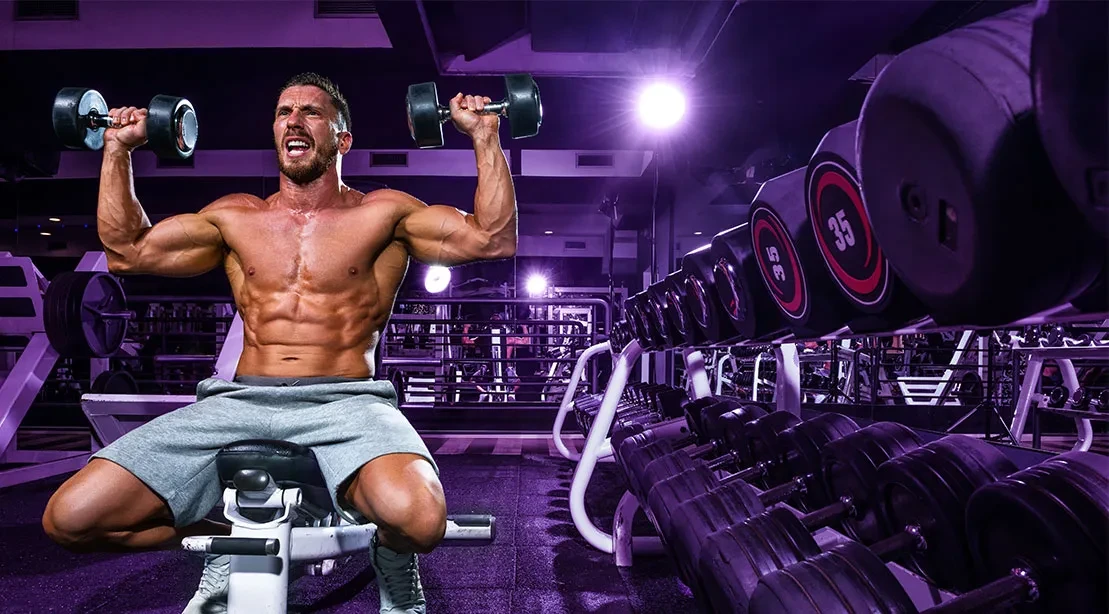
Thigh rest: Sit tall on a 70-degree bench and place dumbbells vertically on your thighs. This “lap position” serves as your launchpad for overhead positioning.
Upright posture: Keep your chest elevated and core braced.
Internal cue: “Spine long, chest proud.”
External cue: “Rest the weights on your thighs—don’t wrestle them.”
Coach’s Tip: If you can’t control the dumbbells in the lap position, reset or reduce the weight. A shaky setup guarantees a shaky press.
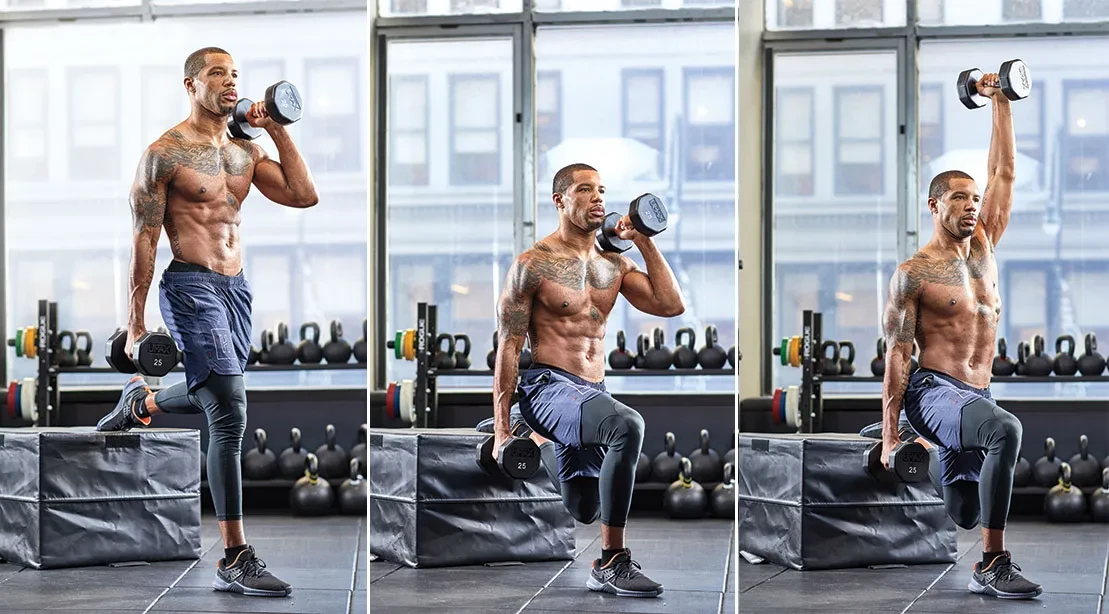
2. Getting Dumbbells Into Starting Position
No spotter? No problem—if you use your legs and core to guide the dumbbells instead of overtaxing your shoulders. Here’s the method:
Lap to shoulders: With dumbbells resting vertically on your thighs, take a breath and lean back into the 70-degree bench.
Controlled knee kick: Use a deliberate knee drive to lift one dumbbell at a time toward your shoulder.
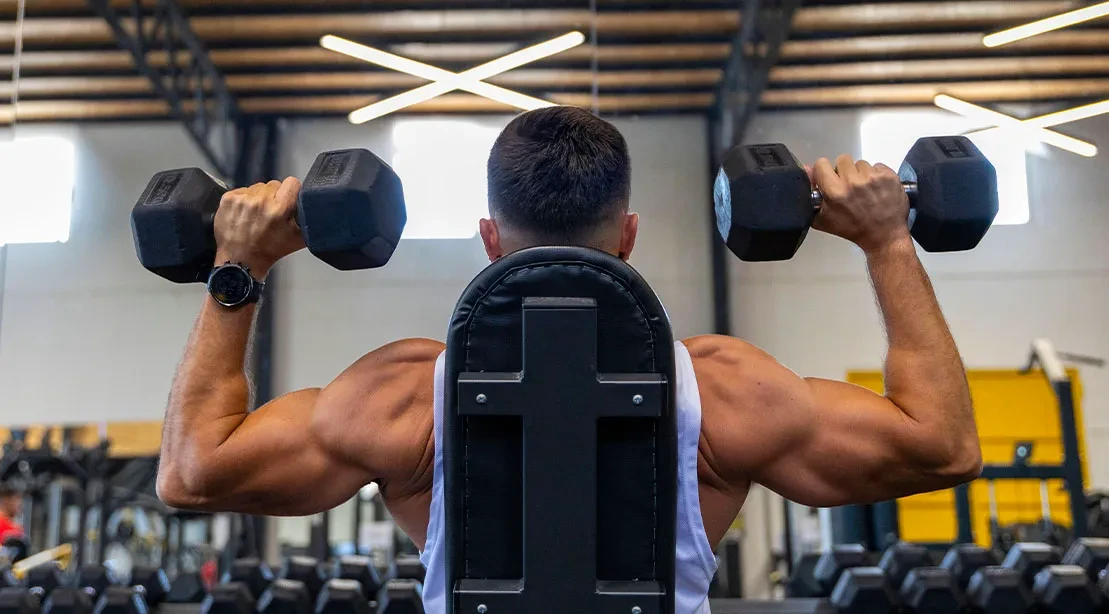
Lock and stack: Once both dumbbells are at shoulder height, ensure your elbows are under your wrists and the dumbbells are stacked over your anterior deltoids. Hands may face forward, at a slight angle, or neutral—prioritize joint alignment.
Internal cue: “Guide the weight, don’t fight it.”
External cue: “Kick, catch, stack.”
Coach’s Tip: If dumbbells drift or joints misalign during the “lock and stack” phase, stop, reset, and retry. Poor positioning here compromises the entire press.
3. Foot and Seat Position: Anchor Your Base
A strong press relies on a stable foundation. Without proper lower body and seat positioning, every rep becomes a balance challenge—forcing your shoulders to compensate for instability. Anchoring your base allows your deltoids and triceps to focus solely on pressing.
Feet planted: Drive your feet into the floor as if attempting to slide the bench backward.
Glutes and hips secured: Keep your glutes in firm contact with the bench—avoid sliding forward.
Back braced against the pad: Press your lower back and shoulders into the bench to stabilize your spine and optimize pressing angle. Retract and depress your shoulder blades slightly (avoid excessive lumbar arching).
Internal cue: “Glutes tight, shoulder blades down and back.”
External cue: “Drive feet through the floor; press your back into the bench.”
Coach’s Tip: If your feet shift or glutes slide mid-set, you’re leaking energy. Reset before the next rep—stability is non-negotiable.
4. Breath and Brace: The Core-Stability Link
Overhead pressing demands more than shoulder strength—it requires core rigidity. A poor breath and brace turns your torso into a weak link, leading to excessive lumbar extension (lower back arching) and lost pressing power.
Inhale deeply: Take a 360° belly breath—expand your diaphragm front-to-back and side-to-side.
Brace maximally: Engage your core as if preparing for a punch. Keep your ribs depressed (aligned with your hip bones) to avoid “flaring.”
Hold and press: Maintain core brace throughout the press. Exhale forcefully as you push the dumbbells overhead; inhale on the eccentric (lowering) phase.
Internal cue: “Fill the belly, lock the ribs down.”
External cue: “Breathe in deep; exhale hard on the press.”
Coach’s Tip: If your lower back starts arching, you’ve lost core brace. Reset your breath and position before continuing—lumbar extension is a red flag for injury risk.
5. The Green Light Checklist: Final Systems Check
Before your first rep, run through this mental checklist to confirm you’re in a position of strength. It takes 2–3 seconds but ensures consistency:
✅ Feet firmly planted into the floor
✅ Glutes anchored to the bench
✅ Shoulder blades retracted/depressed against the pad
✅ Dumbbells stacked at shoulder height (wrists neutral, elbows under weights)
✅ Core braced (belly full of air, ribs depressed)
✅ Gaze fixed forward (avoid looking up or down)
If all boxes are checked: you’re ready to press.
Common Setup Mistakes to Avoid
Even experienced lifters shortcut setup steps—until inefficiency or injury strikes. Steer clear of these errors:
Jerking dumbbells off the rack: Rounding your back to lift heavy weights risks lumbar strain. Always hinge at the hips and lift with control.
Overusing arms to hoist dumbbells: Shrugging or “muscling” weights into position overtaxes the traps and shoulders. Use the knee kick method (Section 2) to preserve shoulder health.
Glute/back sliding: Allowing your hips to shift or lower back to leave the bench creates instability and lumbar stress. Keep your base anchored.
Poor joint stacking: Starting with elbows too wide or wrists misaligned puts shoulders in a vulnerable (abducted) position. Keep elbows under dumbbells and wrists in line with elbows.
Pressing without a brace: Lifting with a “loose” core leads to excessive lumbar extension and lost power. Always brace before pressing—hurrying leads to long-term issues.
Final Thoughts
Proper setup isn’t just about “good form”—it’s about long-term progress and injury prevention. The seated dumbbell overhead press is a staple for shoulder development, but its effectiveness hinges entirely on how well you execute the first 30 seconds of the lift.
By prioritizing control during the pick-up, using your legs to guide dumbbells, anchoring your base, and mastering core brace, you’ll turn every rep into a step toward stronger, healthier shoulders.
Now: Execute with intention. The weights will wait—your body won’t.
Dumbbell Biceps Press: 7 Tips to Improve Arm Strength and Size
Share this article: